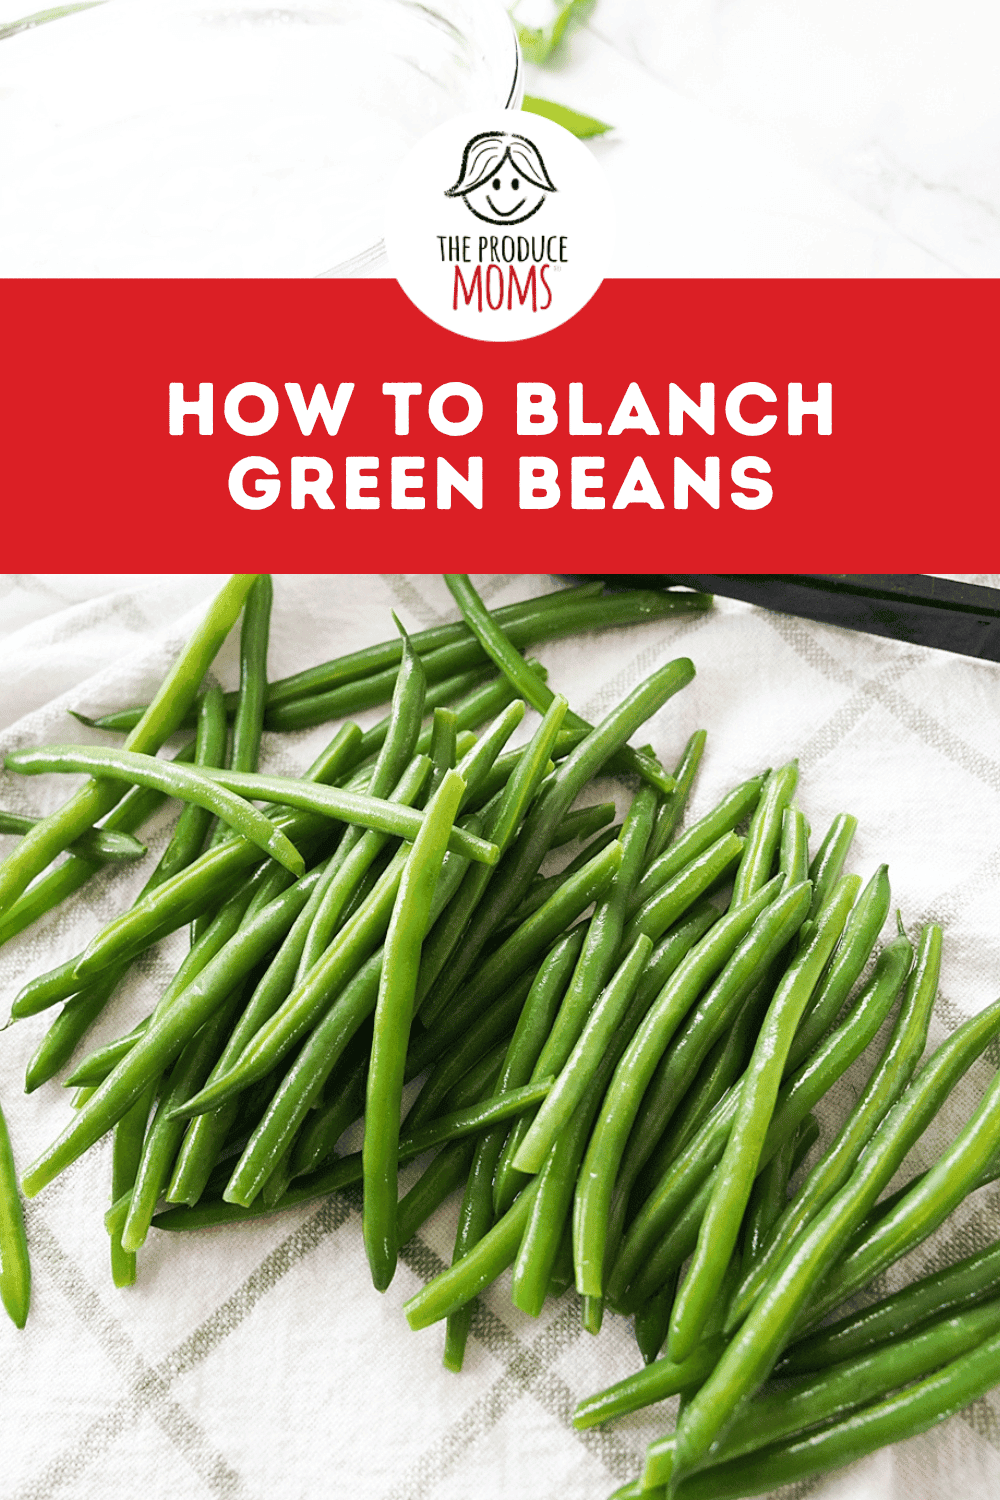
How To Blanch Green Beans
Jun 16, 2026

This post may contain affiliate links. Please read our disclosure policy.
Welcome, fellow veggie lovers! If you’ve ever bitten into a sad, rubbery green bean that looked more like khaki than emerald, we need to talk. Today, we are unlocking the ultimate kitchen superpower: blanching.
It’s super easy, and truly doesn’t take too long! You will be so happy that you know how to up your green bean game!
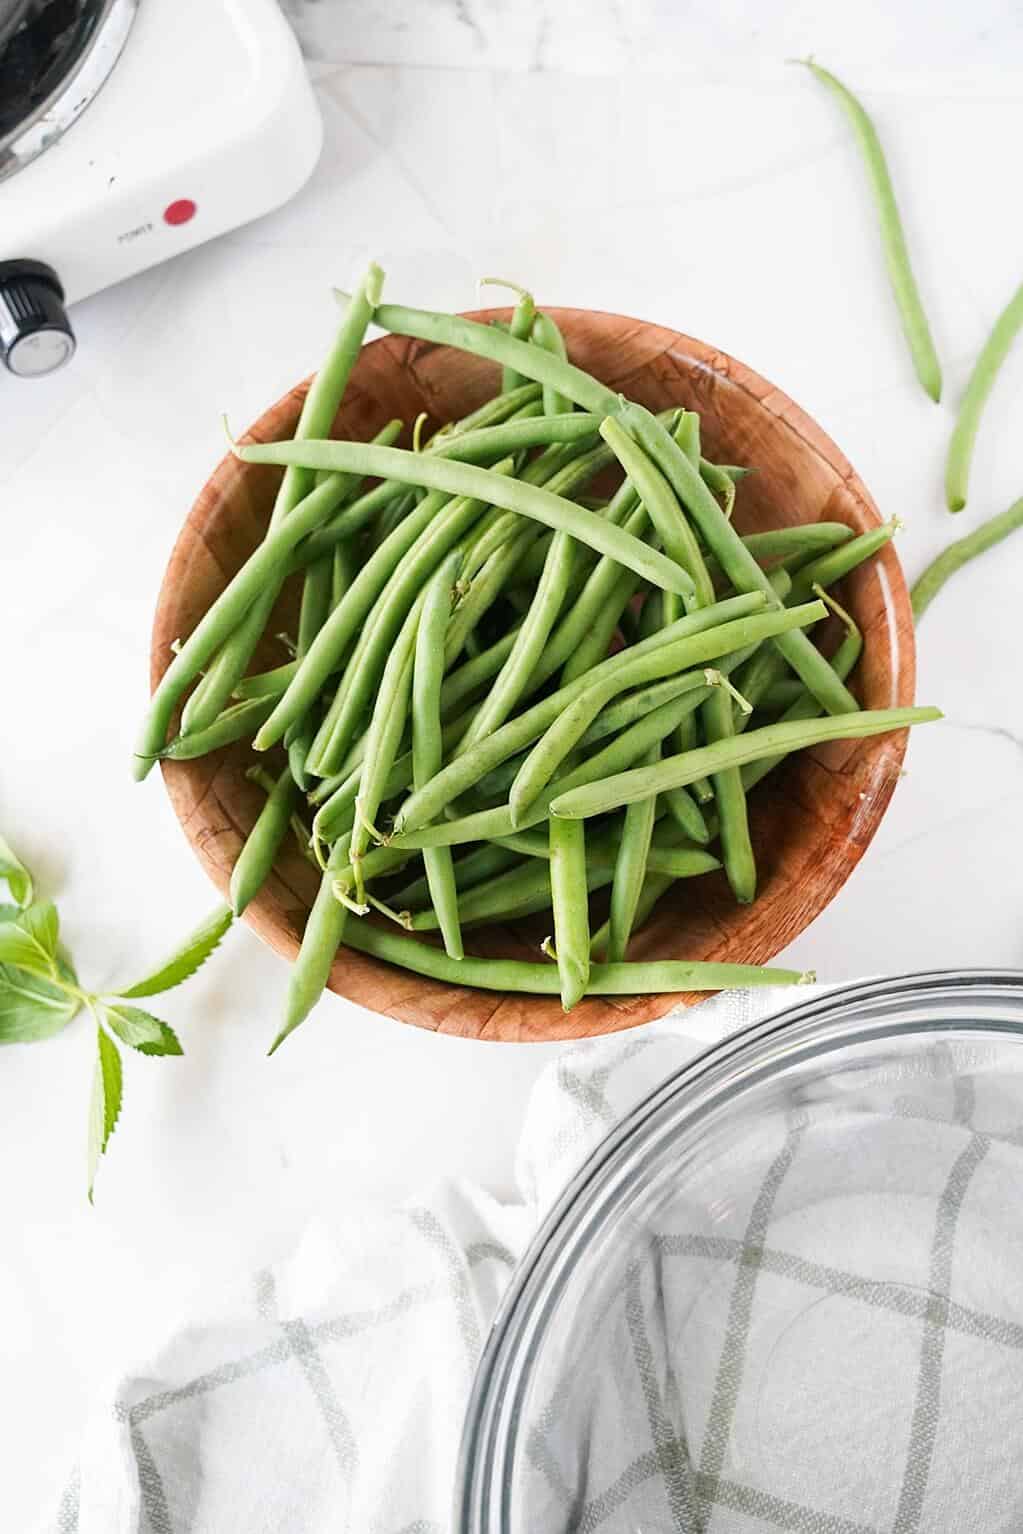
About Green Beans
Let’s kick things off with a little respect for our slender, crunchy friends. Whether you call them green beans, string beans, or snap beans, they are at their absolute peak during the warm summer months. When they’re fresh, they should snap with authority!
But here’s the catch with fresh veggies: they contain natural enzymes that slowly break down their flavor, color, and texture over time, even if you stash them in the fridge. That’s why raw green beans can get tough, stringy, or lose that vibrant, sweet “just-picked” taste within a few days. To lock in that perfect crunch and that gorgeous, neon-green color, we need to pause time. And how do we do that? Enter blanching!
The Produce Moms Tip
Before you start, give your beans a quick bath in cold water. Snap off the tough stem ends by hand or line them up and trim them with a knife. You can leave the cute little curly tails on the other side—they look beautiful on the plate!
How to Blanch Green Beans
Don’t let the fancy culinary name fool you; blanching is just a quick, two-step dance of fire and ice. It stops those sneaky enzymes in their tracks, softens the beans just enough to make them tender-crisp, and makes their color absolutely pop. Here is your foolproof guide.
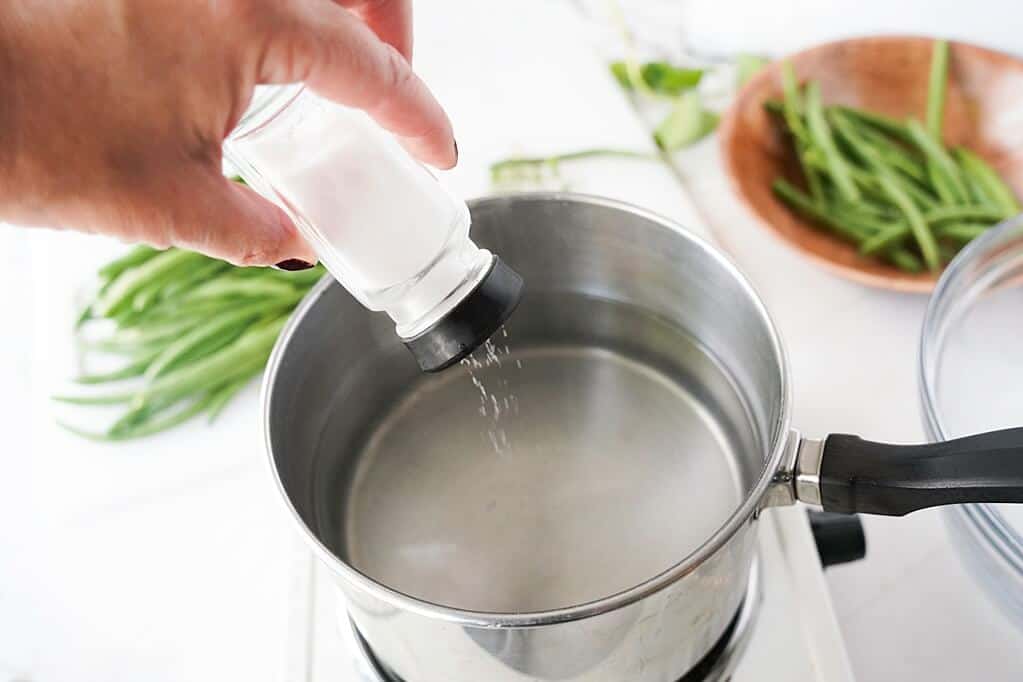
Step 1: Get the “Hot Tub” Ready: Bring a large pot of water to a rolling boil. Don’t be shy with the salt! Add about a tablespoon of salt per gallon of water. It seasons the beans and helps preserve their brilliant green color.
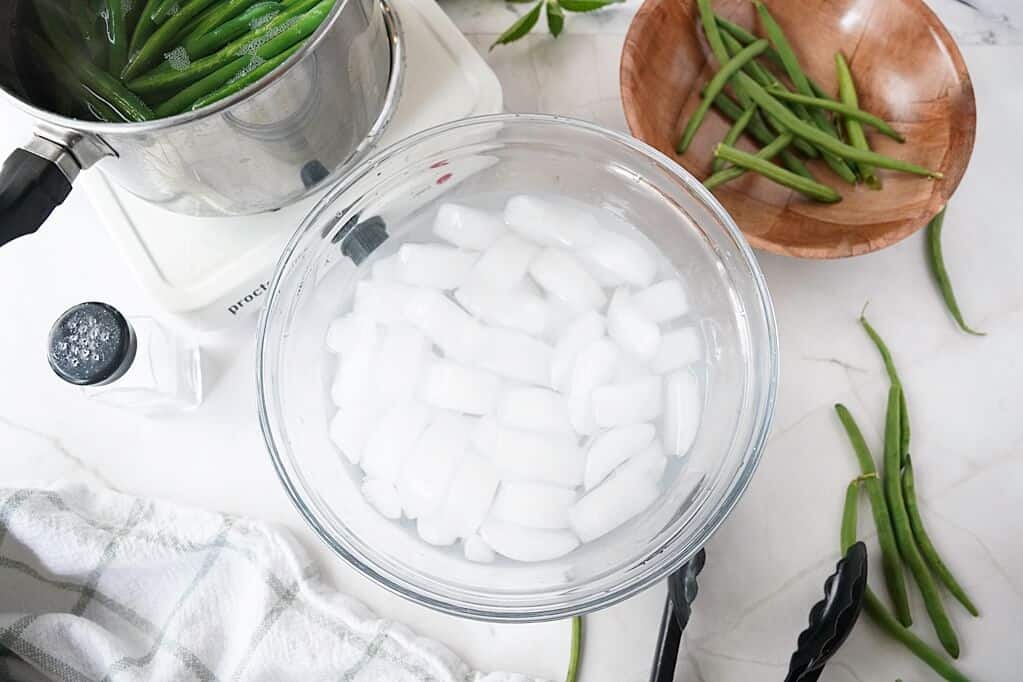
Step 2: Prep the Ice Bath: While the water heats up, fill a large bowl with cold water and plenty of ice cubes. This is crucial! We need to stop the cooking instantly.

Step 3: The Quick Dip: Carefully drop your trimmed green beans into the boiling water. Let them cook for exactly 2 to 3 minutes. Keep an eye on them. The moment they turn a striking, vivid green and are slightly tender but still have a distinct snap, they are ready.
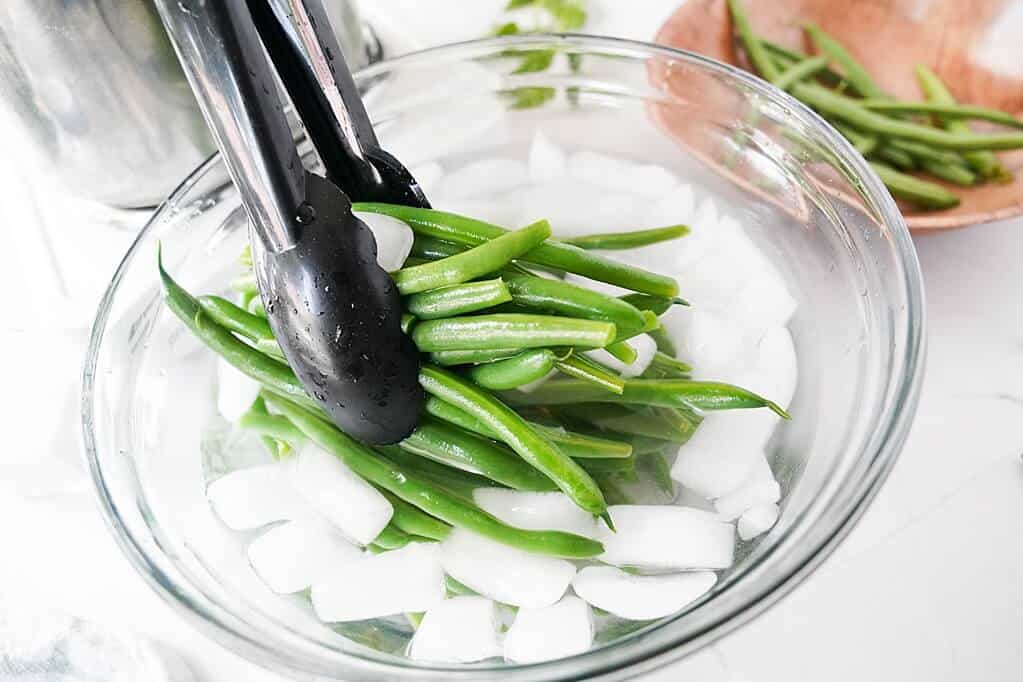
Step 4: The Cold Shock: Use tongs or a slotted spoon to fish the beans out and immediately plunge them into the ice water. Swirl them around so they cool down completely. Leave them in the ice bath for the same amount of time they boiled (about 2 to 3 minutes).
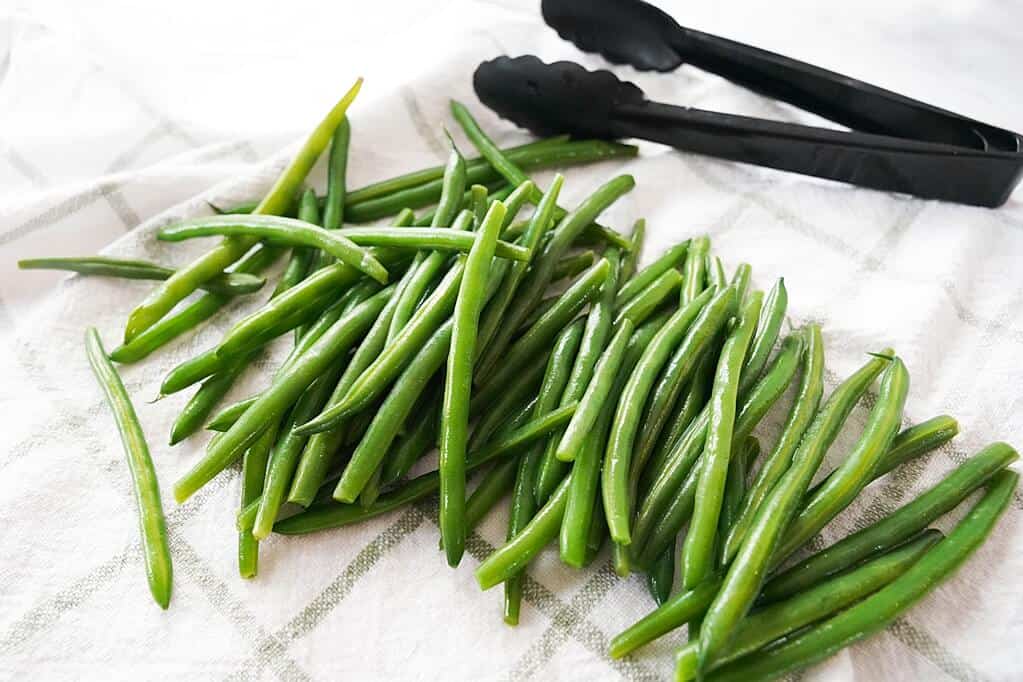
Step 5: Dry Completely: Drain the beans thoroughly and pat them dry with a clean kitchen towel. Excess water is the enemy of crispiness!
How To Freeze Blanched Green Beans
Want to enjoy that mid-summer sweetness in the dead of winter? Your freezer is ready, but only if you blanch them first! Freezing raw green beans results in a mushy, brown mess when thawed. Blanched beans, however, freeze beautifully.
To prevent your beans from freezing together into one giant, unbreakable green brick, use the Flash Freeze Method:
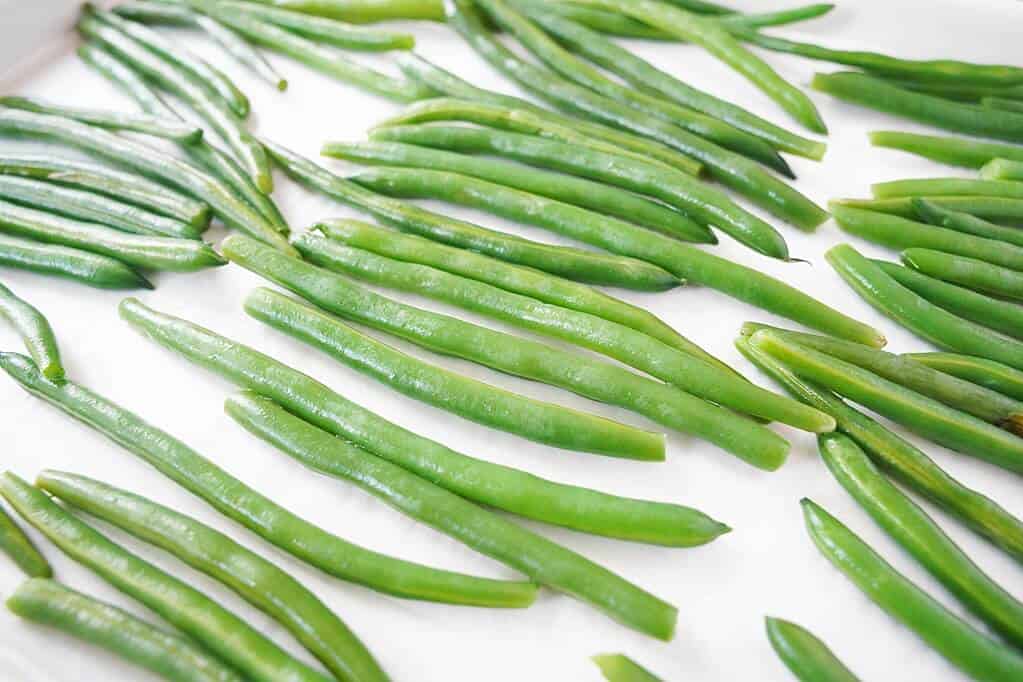
- Spread your thoroughly dried, blanched green beans in a single layer on a baking sheet lined with parchment paper. Make sure they aren’t piled on top of each other.
- Pop the baking sheet into the freezer for about 1 to 2 hours until the beans are frozen solid individually.
- Transfer the frozen beans into a heavy-duty freezer bag. Squeeze out as much air as possible before sealing. Label it with the date, and enjoy perfectly fresh green beans for up to 8 to 10 months!
Ways To Use Blanched Green Beans
Now that you have a batch of perfectly vibrant, tender-crisp green beans, the delicious possibilities are endless. Because they are technically already cooked, they are incredibly versatile and ready for fast meals:
- The Ultimate Quick Sauté: Toss your blanched beans into a hot skillet with a splash of olive oil, minced garlic, and a pinch of red pepper flakes. Sauté for just 2 minutes until hot, finish with a squeeze of fresh lemon juice and shaved parmesan.
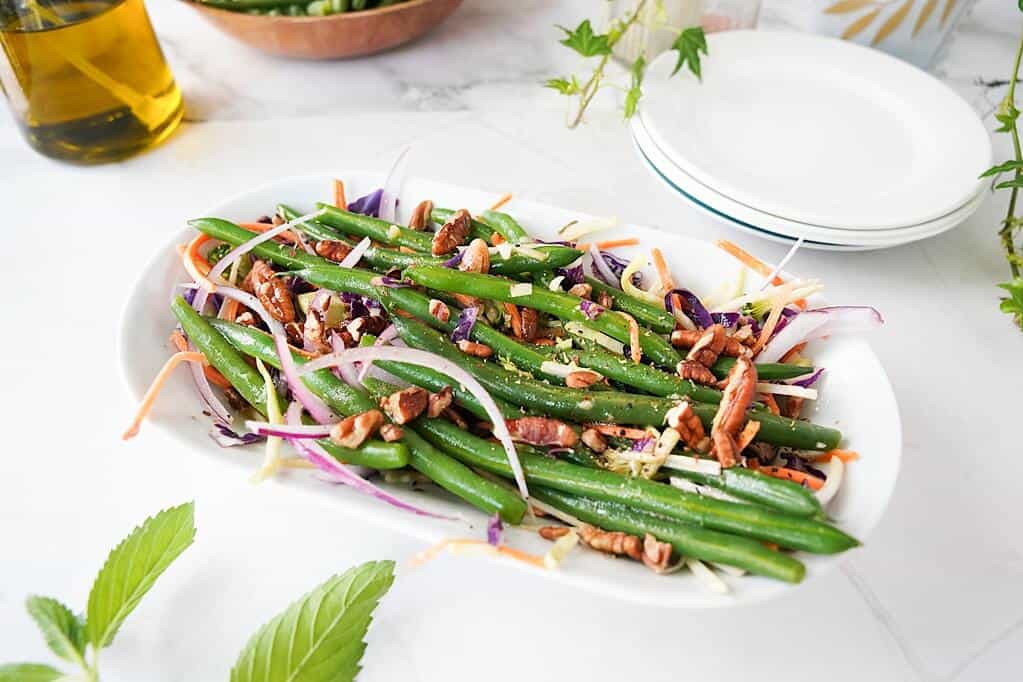
- Crispy Summer Salads: Chop them into bite-sized pieces and toss them into a Mediterranean salad with cherry tomatoes, feta cheese, kalamata olives, and a bright vinaigrette. They add a magnificent, refreshing crunch.
- The Crunchy Crudité Platter: Ditch the boring celery sticks! Use your bright green blanched beans as a star player on your next appetizer board alongside garlic hummus, ranch, or a creamy blue cheese dip.
- Meal Prep Mastery: Keep a container of blanched beans in the fridge. They stay crisp for up to 4–5 days, making it incredibly easy to throw a healthy green side dish next to your grilled chicken or steak all week long.
Go forth and blanch with confidence, your kitchen is waiting!
Our Favorite Green Bean Recipes
- Green Beans with Crispy Chickpeas
- Blistered Green Beans with Fried Shallots
- Crispy Air Fryer Green Beans
- Fresh Green Bean Casserole
Looking for more inspiration? Check us out on Pinterest or Instagram, and join our community of Produce Moms!